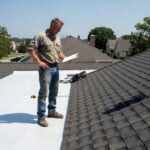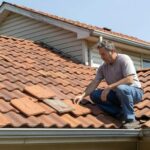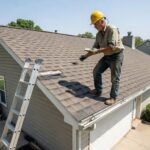
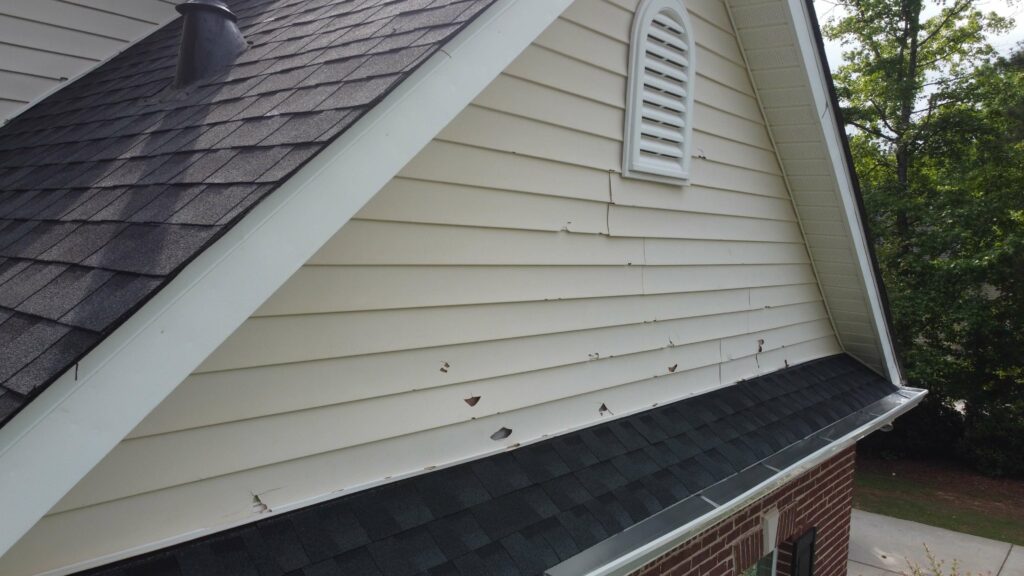
• Learn how to identify storm damage on your roof with a detailed inspection guide
• Find out professional tips for assessing the extent of damage caused by weather events
• Discover the benefits of consulting with roofing experts for repair and maintenance needs
Recognizing the Warning Signs
The aftermath of a storm can leave your home vulnerable to elements, and your first line of defense is the roof over your head. It’s crucial to be aware of the early signs of trouble, such as shingles that appear to be out of place or damaged, even when observed from the ground. This kind of damage can lead to leaks and further interior harm if not addressed swiftly. Beginning with a ground-level visual assessment not only spots the obvious issues but can also highlight areas that require a closer look.
Roofing accessories often take the brunt of storm damage and are essential components in maintaining a roof’s structural integrity. Items like gutters and downspouts, when dislodged or obstructed, can cause water to back up and potentially create more extensive issues for your roof and home. Flashing and vents, too, can be compromised during harsh weather, leaving your home susceptible to water ingress. Timely identification of these problems can prevent the domino effect of roof damage.
Shingle condition is a telling sign of your roof’s health post-storm. If climbing up for a closer examination, be on the lookout for cracking, peeling, or any loose material; these are clear indicators that the roof’s surface has been compromised. Granule loss, often found in gutters and downspouts, further signals shingle deterioration, which could escalate if ignored. Inside your home, keep an eye out for water stains or mold in your attic, as these are telltale signs that the storm has breached your roof’s defenses.
The Step-by-Step Inspection Strategy
Initiating a roof inspection may seem daunting, but it is an essential step in safeguarding your home from future storms. Begin with the essentials by ensuring you have a solid ladder and wear safety gear before embarking on what could be a risky task if underprepared. Should you encounter signs of damage such as curled shingles or broken flashing, it’s crucial to document your findings accurately and precisely; this aids in swift resolution, whether through DIY fixes or professional intervention, and supports insurance claims if needed.
While a keen eye can catch many issues, there might be more subtle signs that require professional expertise to interpret correctly. This is where a reputable service like Roof-Tastic & Beyond Exteriors can be indispensable, with their trained eyes that leave no stone unturned. They identify concerns that may not be apparent to the untrained observer, such as minor granule loss or the early onset of water damage. A thorough inspection ensures that all problem areas are identified and assessed, and proper remediation plans can be put into place.
Step 1: Prepare for the Inspection
Before you even start looking for signs of storm damage to your roof, ensure you have the necessary safety equipment, such as a sturdy ladder, non-slip footwear, gloves, and glasses. Safety is paramount.
Step 2: Check for Visible Damage from the Ground
Walk around your home and look at your roof from a distance. You’re looking for missing, damaged, or flapping roof shingles that could indicate storm damage.
Step 3: Inspect Roofing Accessories
Look closely at the gutters, flashing, vents, and chimneys. Storms can dislocate or damage these, which is essential for a watertight roof.
Step 4: Assess Shingle Condition
Climb safely onto your roof and check the shingles up close. You’re looking for cracks, splits, peeling, and any that are loose or missing completely.
Step 5: Look for Granule Loss
Examine your gutters and downspouts for excessive granules that may have been worn away from your shingles, indicative of storm damage.
Step 6: Check for Water Damage
From inside your home, inspect your attic or the highest ceiling for any signs of water staining, mold, or moisture that can signal a leak in the roof.
Step 7: Document the Damage
Take clear photos or a video of any damage you find. This is crucial for insurance claims and getting professional repairs done accurately.
Step 8: Contact a Professional
After assessing the damage yourself, the best course of action is to get in touch with a local roofing professional who can provide a more comprehensive storm damage roof inspection and offer solutions for repair and prevention.
Avoiding Common Mistakes in DIY Roof Inspections
When it comes to inspecting your roof for storm damage, eagerness to address issues can lead to common DIY mistakes. These errors can not only put you at risk but may also escalate the damage to your roof. Let’s review some frequent missteps so that you can sidestep them and ensure a thorough and safe inspection process.
Mistake 1: Ignoring Safety Precautions
Skipping the use of proper safety equipment is a perilous oversight. Remember, no inspection is worth personal injury—always use a sturdy ladder, wear non-slip shoes, and don protective gear like gloves and safety glasses.
Mistake 2: Overlooking Subtle Signs
Focusing only on obvious damages like large missing shingles can cause you to miss smaller yet critical signs such as lifted shingle edges or slight granule loss. Take time to inspect the less apparent conditions that indicate storm damage as they too can lead to major issues in the long run.
Mistake 3: Neglecting Roofing Accessories
Many DIY inspectors fail to check accessories like gutters, flashing, and vents, which are often the first to suffer in a storm. These components are crucial for a watertight roof, so examine them closely for any dislocation or damage.
Mistake 4: Inadequate Documentation
Not capturing enough details or failing to document the damage properly can complicate insurance claims and repairs. Take clear, well-lit photos or videos from multiple angles to provide a comprehensive record of the storm’s impact on your roof.
By avoiding these common mistakes, you’ll be better positioned to assess storm damage correctly and take the appropriate next steps towards repair and maintenance. Remember, if you’re ever in doubt about the condition of your roof or the safety of the inspection, contacting a professional, like those at Roof-Tastic & Beyond Exteriors, is always the best choice.
Documenting and Acting on Your Findings
Once you’ve gathered evidence of potential storm damage, it’s vital to record it meticulously. Clear photographs or videos are indispensable for insurance purposes and will serve as a concrete basis for any required repairs. Ensure these records are well-organized and easily accessible when you need to present them to insurance adjusters or roofing professionals.
If your assessment reveals considerable damage, it’s time to call in the experts from Roof-Tastic & Beyond Exteriors for a professional appraisal. Their experienced team can offer comprehensive solutions and detailed repair or replacement options. Trustworthy and prompt service will not only restore your roof but also offer peace of mind, especially as you prepare for any future adverse weather.
Visit us through our social media page for up to date news and new projects we’re working on.