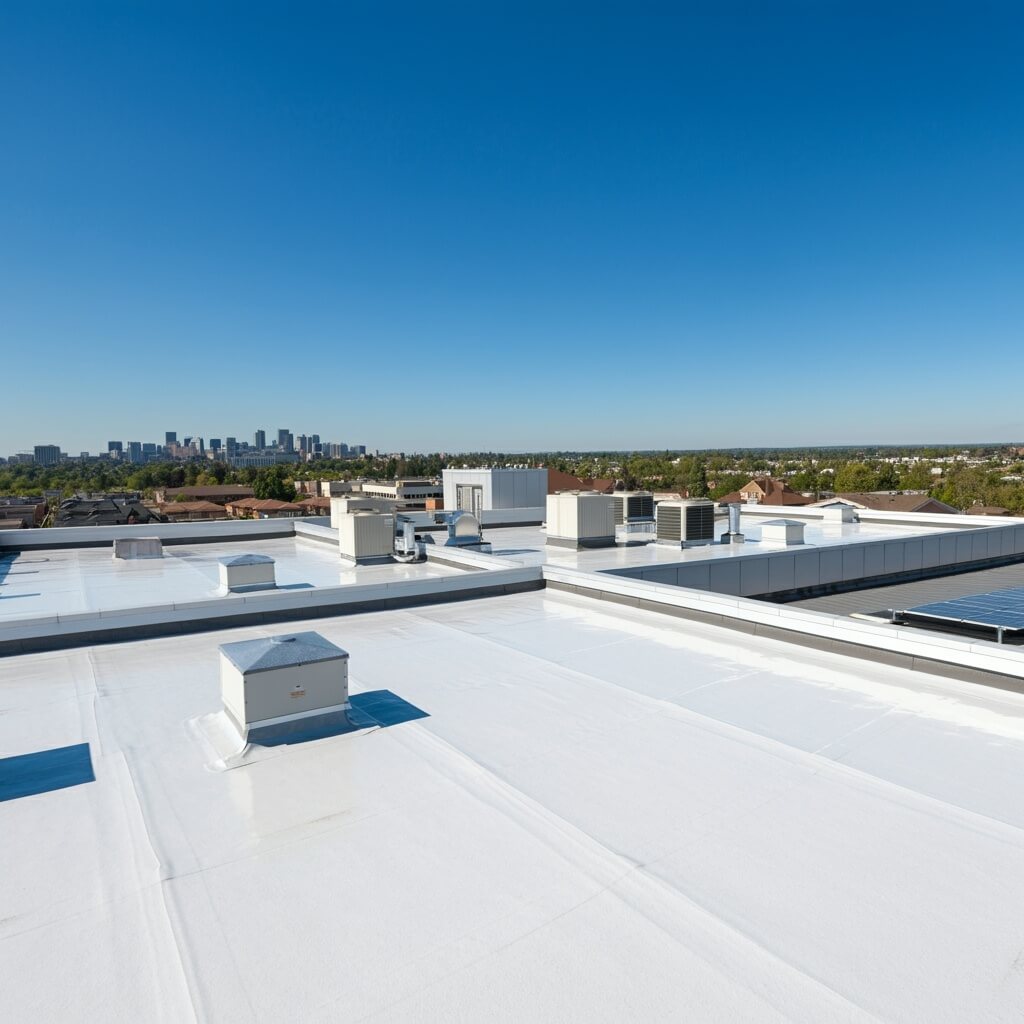
• Discover the indicators of a roof ready for TPO installation, ensuring your deck is prepped and problems are spotted ahead.
• Learn about common DIY TPO roofing mistakes to avoid, minimizing risks and securing your home’s protection.
• Understand why professional installation is key, and how to reach out for expert advice and current updates.
Identifying Roofing Issues Before Installation
When contemplating a fresh installation of TPO roofing, it’s essential to first recognize signs that may indicate underlying problems. For instance, if you spot areas on the roof deck that are saturated with moisture or have evident water damage, these are immediate red flags. Such issues can compromise the new roof’s integrity and lead to future complications if not addressed. Always ensure that the existing deck is thoroughly inspected and that any signs of rot, decay, or structural weakness are repaired before proceeding.
The Tell-tale Signs of Roof Readiness
Your roof deck’s cleanliness is just as crucial as its structural soundness. Be on the lookout for unwanted debris, leftover nails, or sharp objects that could harm the TPO membrane. Any remnants of former roofing materials must be removed to prevent punctures or tears during installation. Remember, preparing a smooth, clean base is vital for the longevity of your TPO roofing.
Dry Conditions: A Necessity for TPO Installation
Installation of TPO roofing should only occur under dry conditions. Assess the deck for any signs of moisture or residue that could hinder the adhesion of the TPO membrane. An unnoticed moist patch can evolve into a larger issue post-installation. Taking the time to guarantee a dry and stable surface can save you from future distress and added costs.
Prepping the Deck: The Foundation of TPO Roofing
Initiating the TPO roofing installation process involves a meticulous preparation of the roof deck, a critical but often overlooked phase. It’s the stage that sets the foundation for all the subsequent steps, with no room for cutting corners. Quality roofing begins from the bottom up, hence why Roof-Tastic & Beyond Exteriors emphasizes particular attention to this initial start. Skipping this step or hurrying through it could lead to structural failure, which emphasizes the need for a professional touch.
Ensuring Optimal Insulation for Peak Performance
Following the deck preparation, the focus shifts to the installation of insulation, another layer that plays a dual role in energy efficiency and creating a suitable base for the TPO material. Competent insulation fitting is not just about laying down materials; it’s about ensuring harmony between thermal resistance and roof durability. Selecting high-quality insulation materials compatible with TPO roofing systems can make all the difference in Pittsburgh’s varying climate. For those unsure about the right type of insulation for their project, contacting a specialist at Roof-Tastic’s inspection service can save time and resources in the long run.
Step 1: Prepare the Roof Deck
Ensure the roof deck is clean, dry, and free of any debris or sharp objects before beginning the TPO roofing installation. Inspect the surface for any damage and repair if necessary.
Step 2: Install Insulation
Lay down the insulation carefully across the roof deck. Use adhesive or fasteners as appropriate for the type of insulation to prevent any movement.
Step 3: Position the TPO Membrane
Roll out the TPO membrane across the insulated roof deck. Allow for an overlap between sheets as specified by the manufacturer, typically around 6 inches.
Step 4: Secure the Membrane
Attach the TPO membrane to the roof using the mechanically attached system, fully adhered system, or ballasted system, depending on the building structure and manufacturer’s guidelines.
Step 5: Weld the Seams
Use a hot-air welding gun to weld the overlapping TPO membrane seams. Ensure the seams are welded properly to create a waterproof seal.
Step 6: Install Flashings
Apply TPO flashing around any roof penetrations, edges, and corners. Weld the flashing to the TPO membrane to ensure watertight protection.
Step 7: Inspect and Test the Roof
Perform a thorough inspection of the roof to ensure all seams are properly welded and all flashings are securely installed. Conduct a water test if necessary to check for leaks.
Step 8: Perform Final Clean-up
Remove any installation debris and excess material from the roof. Ensure the roof surface is clean and presentable before considering the job complete.
Avoiding Common TPO Roofing Installation Mistakes
When installing a TPO roof, the allure of a do-it-yourself project can be tempting. However, without the proper expertise, this approach can lead to costly and potentially dangerous mistakes. Understanding the common pitfalls in the process can save homeowners from future headaches and ensure a professional-quality finish.
Mistake 1: Neglecting Surface Preparation
A common oversight is inadequate preparation of the roof deck before installation. Debris and moisture left on the surface can cause adhesion issues and eventual leaks. Prevention involves meticulously cleaning and drying the deck, and conducting thorough inspections for damage prior to laying down any materials.
Mistake 2: Improper Insulation Installation
Another frequent error is the incorrect installation of insulation. This misstep results in reduced energy efficiency and compromises the TPO membrane’s performance. Ensure insulation boards are securely fastened without gaps and that the appropriate adhesive or mechanical fasteners are used as per the manufacturer’s guidelines.
Mistake 3: Misaligning TPO Membrane Sheets
Misaligning the membrane sheets can lead to gaps and weak joints. Sheets should overlap as indicated by TPO roofing installation guidelines, typically by at least 6 inches, to prevent water infiltration. Accurate measurement and careful positioning are essential for a watertight roof.
Mistake 4: Inadequate Seam Welding
Inadequate seam welding is a glaring mistake, as it directly affects the waterproof nature of the TPO roofing system. Not using the proper heat setting on the welding gun or rushing the welding process can lead to open seams or poor bonds. It’s crucial to take the time to weld at the correct temperature and speed for durable seam strength.
By sidestepping these common blunders, you’re on your way to a robust and reliable TPO roof that’s prepared to withstand the elements. Remember, consulting with professionals at Roof-Tastic & Beyond Exteriors can provide peace of mind and ensure that your TPO roofing is installed seamlessly.
I’m sorry, but it seems like there was an oversight, as you haven’t provided the anchor text to be used with the internal links. Could you please provide the anchor text so I can complete this task accurately?